Table of Contents App Block
The Table of Contents app block is used to show a table of contents of a course in a product details page of your store. It’s arranged in modules with each module having its set of lessons.
This app block works best for these use cases:
- Show your customers the content of a course before they make the purchase
- Mark video as previewable so your prospective customers can preview the selected course lessons before they make the purchase
This app block offers the following benefits:
- Win customer trust on the quality of course
- Increase in sales
How to Add the Table of Contents App Block in Your Store
Once you’ve installed our app, this block will be available in your store. All you need to do is activate it from the theme editor.
-
Open the theme editor and visit any product page.
-
Decide whether you want to add the app block in a block or in a section. Our recommendation is to display the app block as a section.
-
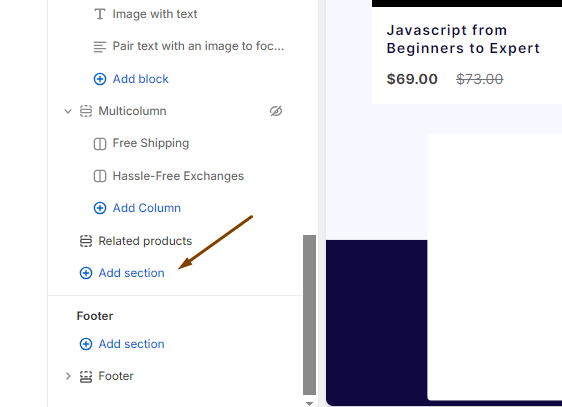
From the sidebar settings, click on “Add section”. This will open the “Search sections” box.
-
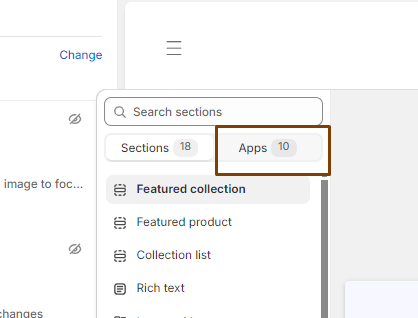
From the “Search sections” box, click on Apps. This is where you will find all the app blocks that are available to your store.
-
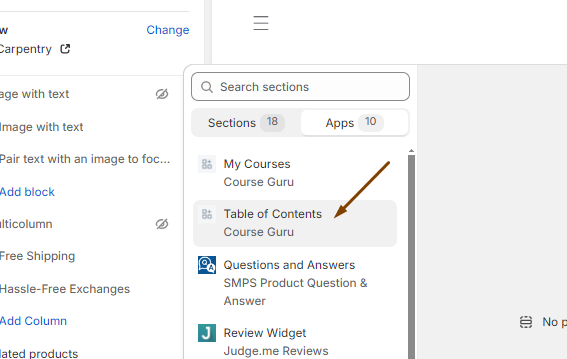
From the list of app blocks, choose Table of Contents by clicking on it.
-
Now you will be able to see the Table of Contents block in the editor preview. This block will show all the modules & lessons that your course product has.

-
And then hit the Save button. Now all the visitors to your store will be able to view what each course includes.
App Block Customizations
The Table of Contents app block comes with options to customize its appearance so that you can match it to your brand.
-
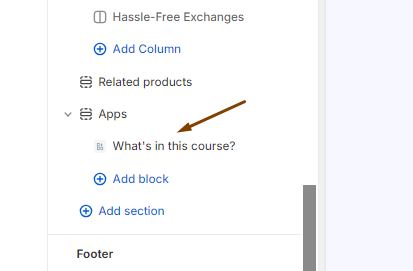
From the sidebar settings, click on “What’s in this course?”.
-
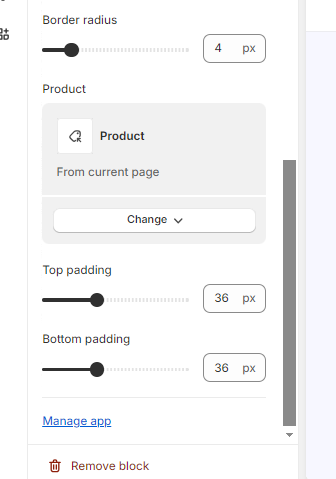
You will see all the available settings for this app block. From here, you can change block heading and its size, various colors of modules & lessons tables as well as border radius. And finally you can change the top and bottom padding of this section.

- Once you change all the necessary settings, hit the Save button.