Customer Sign in
You can update the content of sign in page of customers.
-
Click on Online Store > Theme > Customize
-
On the theme preview, click the Sign In icon

-
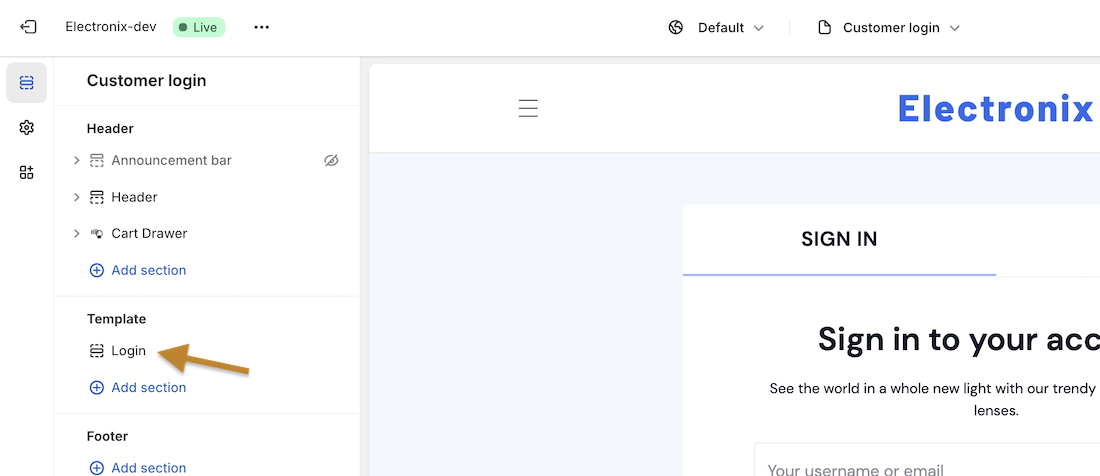
You will be redirected to Customer Login Section from the Home page in left bar.
-
Click on the Template > Login
-
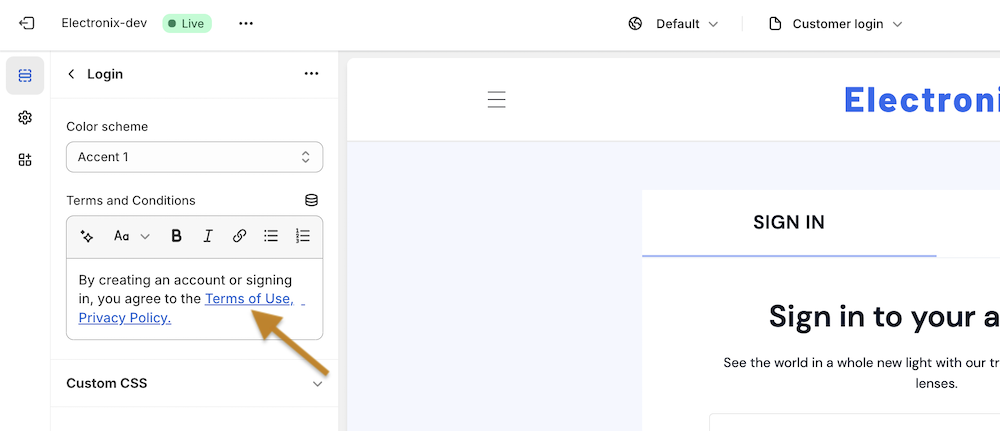
Update the content in 'Terms and Conditions' field as required.
-
To link the page like Terms and Condition/ Privacy Policy in the content:
-
Click the insert link icon in text editor of 'Terms and Condition' field
-
Select the page in the link field , that you to link.
-
Click on Insert button
-
-
Click on Save button. And you can see the update content in the Sign In page
How to Enable Customer Sign In
If you don’t see the profile icon or the sign-in/sign-up label in the header or anywhere in your store, you need to update the customer account setting of your store. Below are the steps that you need to follow to enable customer accounts.
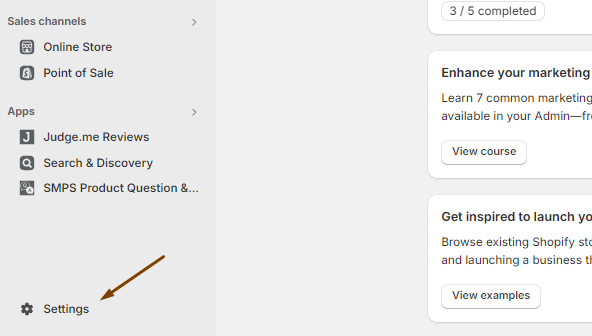
- From your admin dashboard, go to Settings.
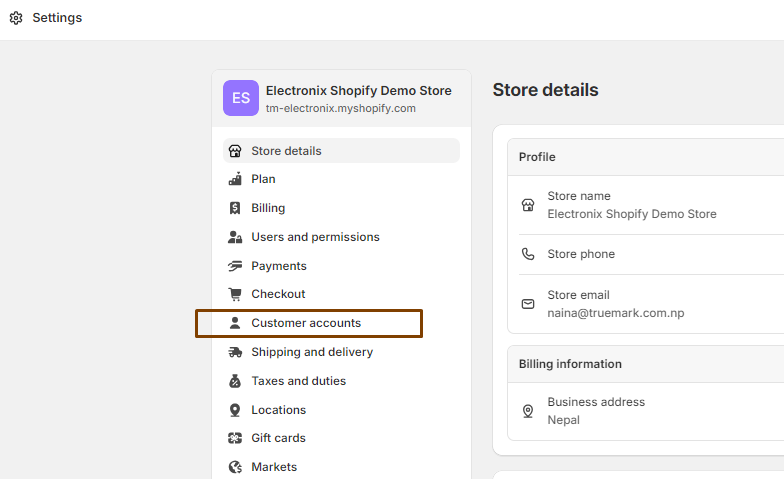
- From the Settings box, choose Customer accounts.
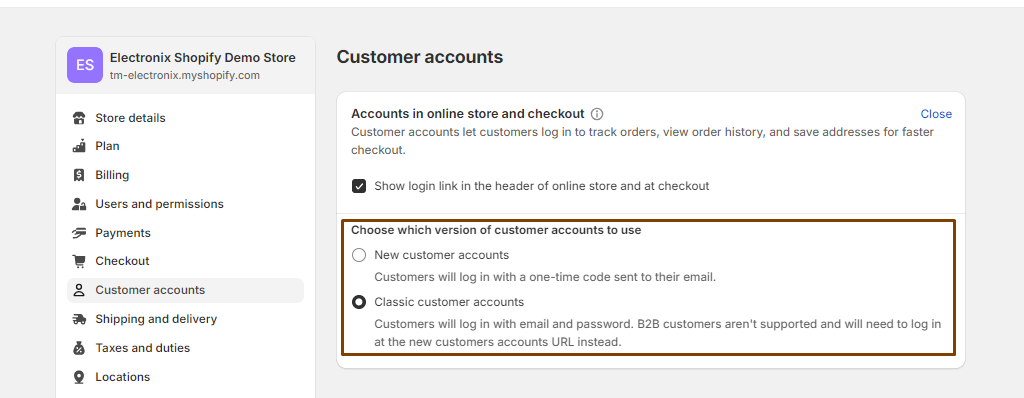
- Click on the Edit button of the Accounts in online store and checkout section.

- Click on the checkbox to enable the login link. This checkbox will appear in the same section after you click the Edit button.

- Choose either of the two customer account types. You will see these two options for customer accounts in the same section. It’s up to you to choose whichever account types you prefer.
- New customer accounts, which is to login via one-time code.
- Classic customer accounts, which is to login via email and password.
- Then, at last, hit the Save button. In a short while, you will see the profile icon in the header of your storefront.
