Pages in Footer
You can create multiple pages and add those in the footer. To navigate the pages in footer:
- In shopify Home page > Sales Channel > Online Store, click on the Navigation option
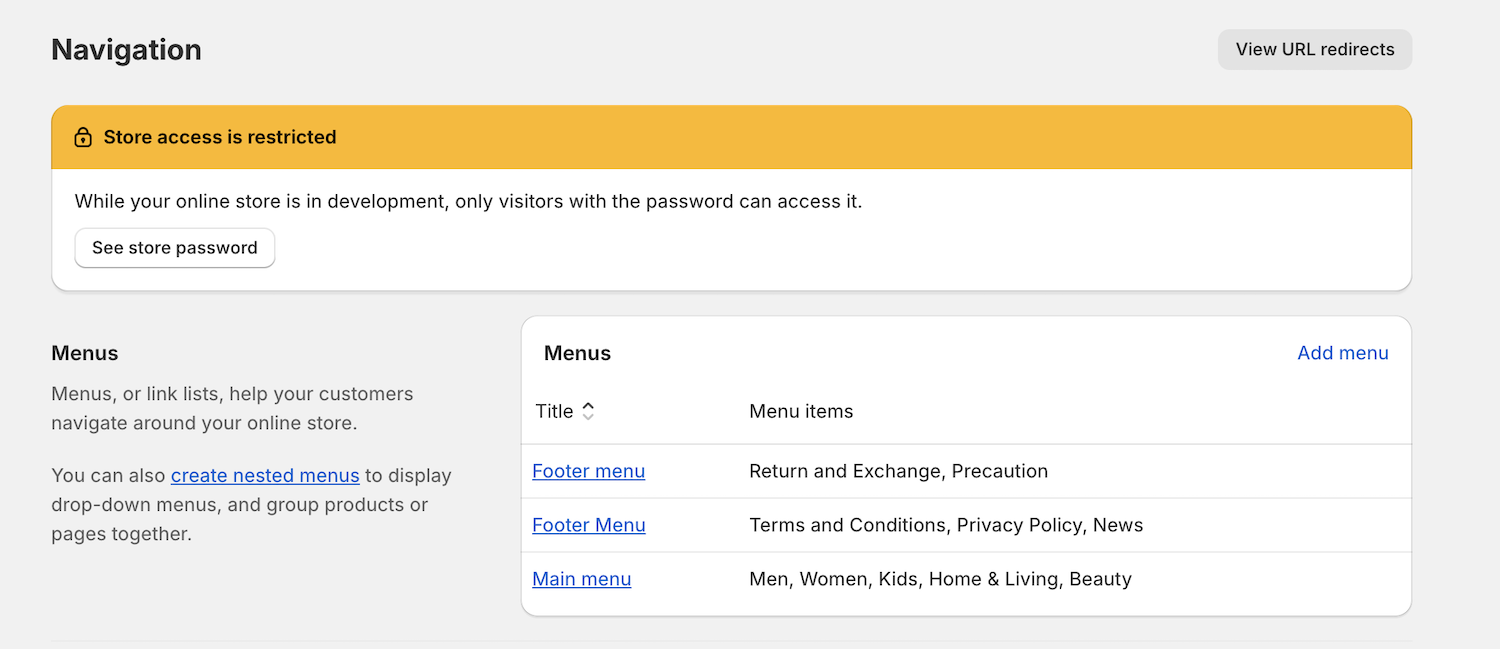
- In navigation page, you will see a section that has list of menus
- Click on the Footer menu , or click ‘Add menu’ option to add the menus you want in footer
- Click on ‘Add menu item’ to add the pages that you want to see in the footer
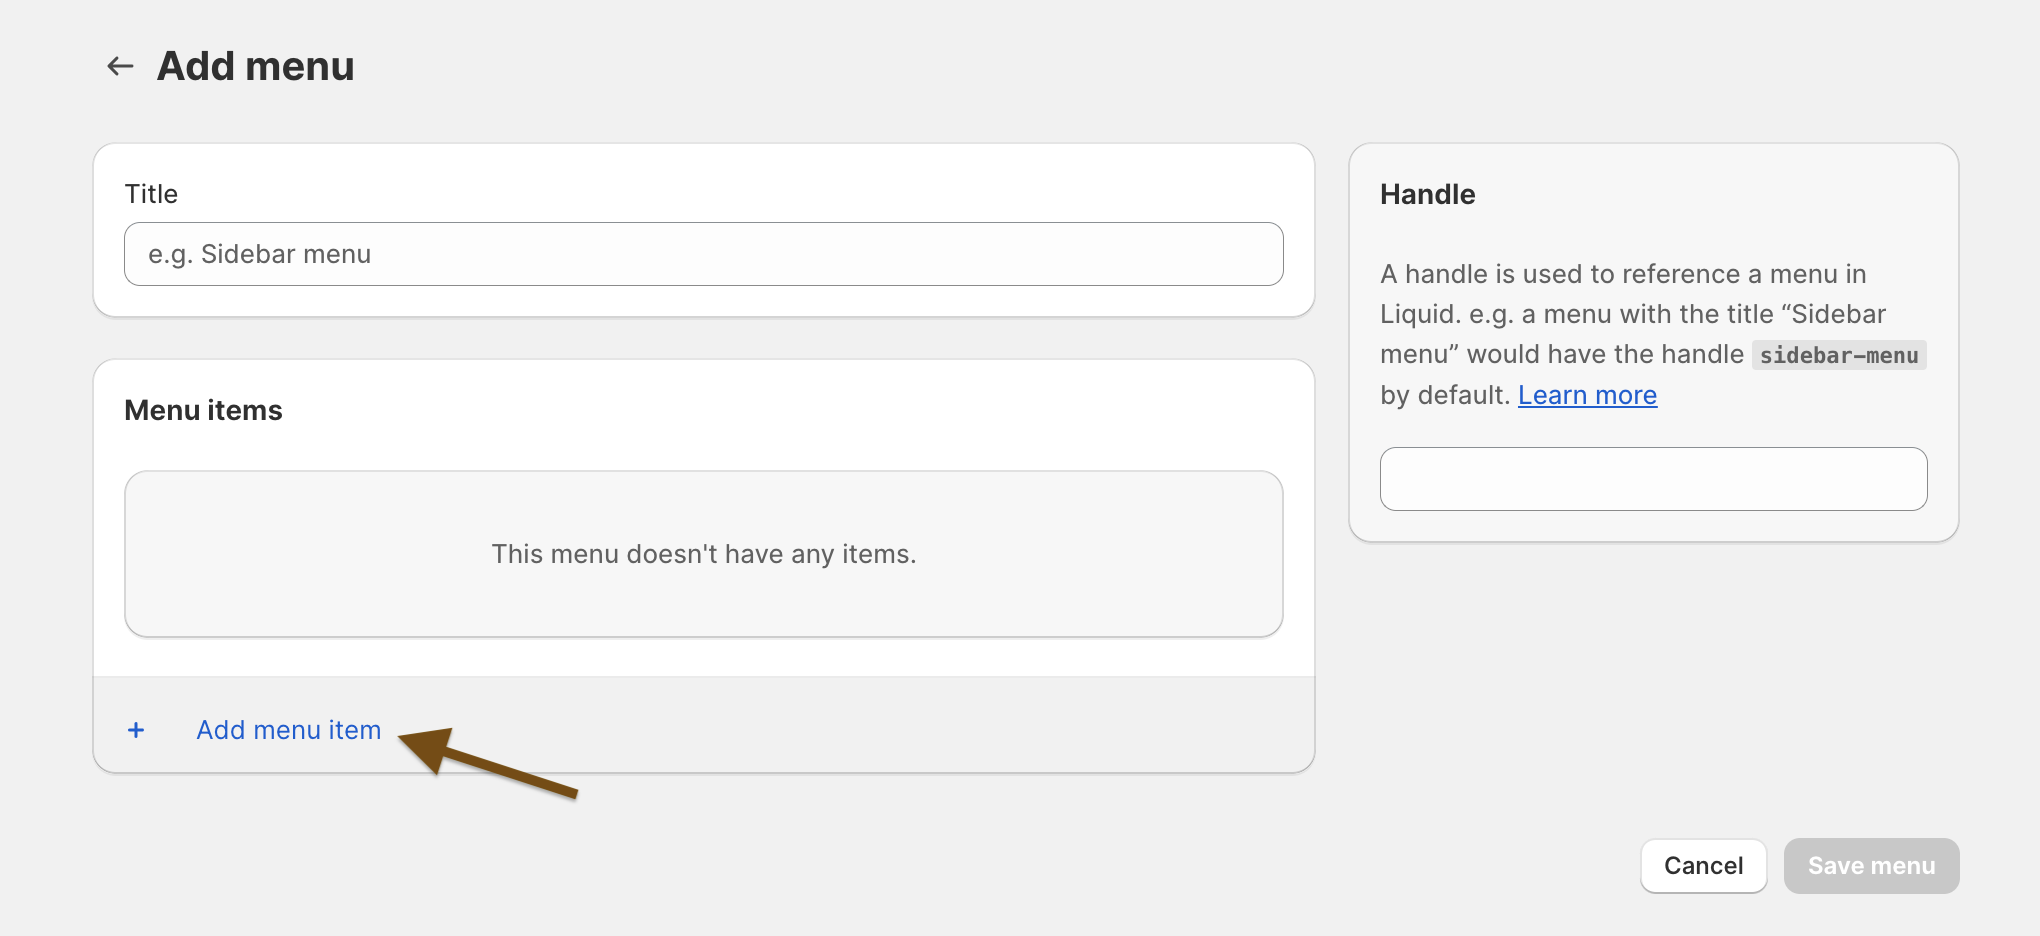
- Create another menus with same process, if you want more menus to be shown in footer
- When adding menu items, when clicking on ‘Search or paste a link’ option, a drop down appears. Click on the ‘Pages’ option.
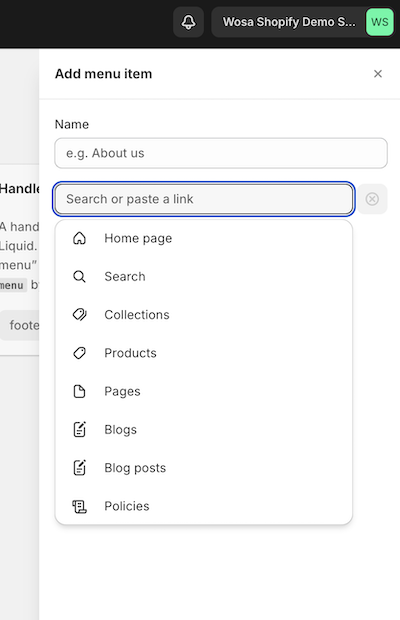
- Then, you will see the list of pages that you have created already.
- Select the page that you want to redirect to from the particular menu item.
- Click on Add button
- Click on Save menu button
Now, when the menus to be shown in the footer is ready , we need to link those in footer’s block.
- Click on Online Store > Theme > Customization
- In Home page > Footer section, click on the arrow icon in Footer section to open the section
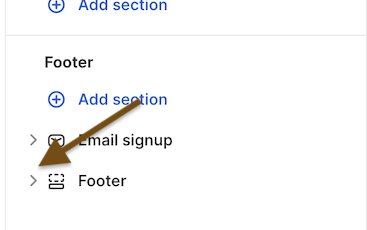
- By default there are two menu blocks : ‘Need information’ and ‘Need Help’
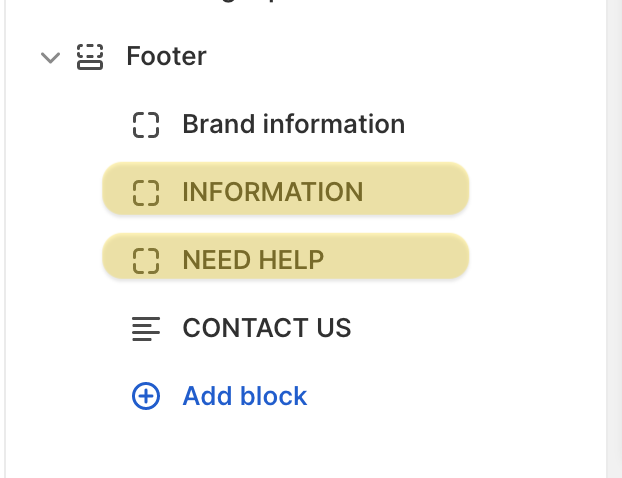
- Click on the desired menu block
- In menu field, click the ‘Change’ and then ‘Change menu ‘ option
- You will see the list of menus that you have created
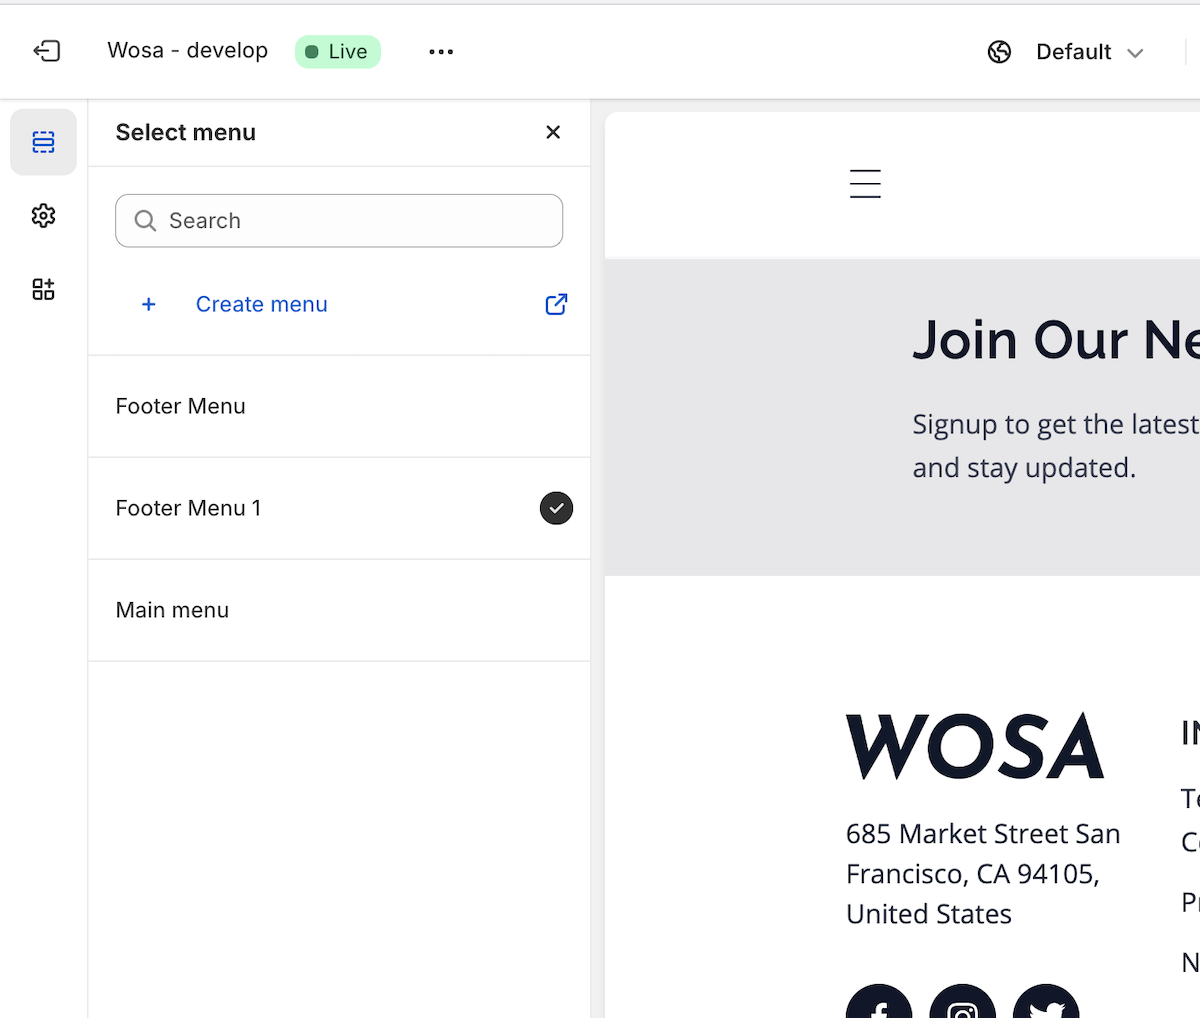
- Select any of the menu, that you want
- Click Select button
- And, click Save button. And your page is created
To display the page in your site, you ca add create menu for header/ footer and add page links as menu items. You can see the steps in detail in this page https://docs.polothemes.com/ wosa-shopify/next/navigation/pages-in-footer .
