Logo
Upload logo in header
-
Go to Sales Channel > Online Store > Theme> Customize Page.
-
Click on the 'Theme setting' option from left most bar
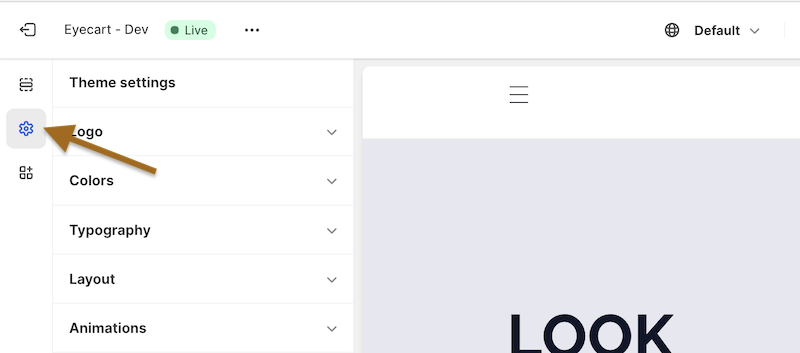
-
Click on the 'Logo' option from the theme setting in logo field
-
Click the ' Change' dropdown
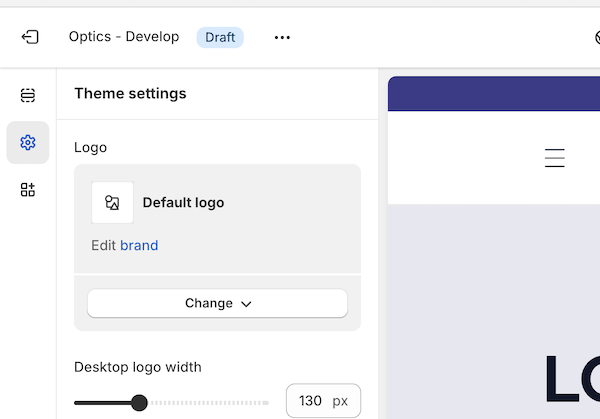
- Click 'Select Image' option and upload the image as your logo
- Click on Save button.
Upload Favicon
You can update the favicon to show your brand icon in your web browser.
-
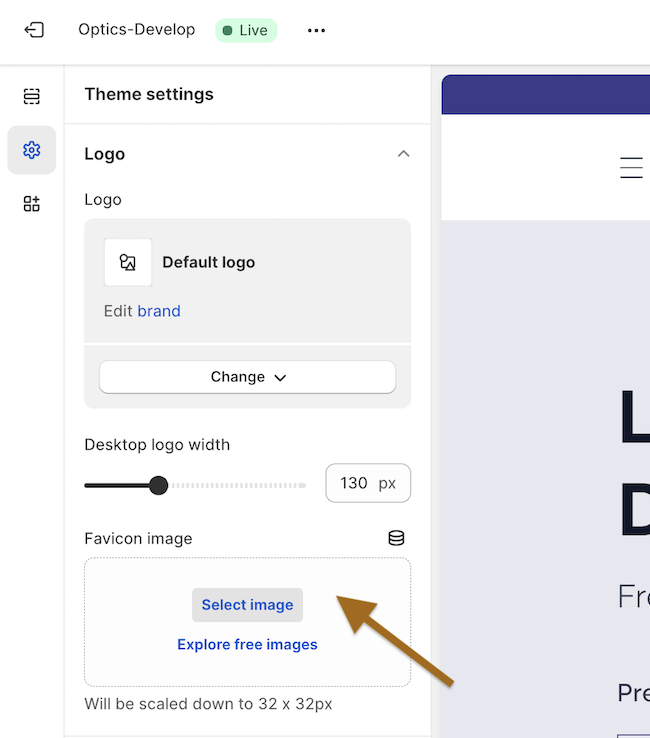
In Theme setting > Logo, you can see option for uploading favicon
-
Click on 'Select Image' option and upload the image that you want for favicon
-
Click on 'Save' button. And you can see the favicon on your site.

Change logo position in header
-
Click on the Section in left most bar.
-
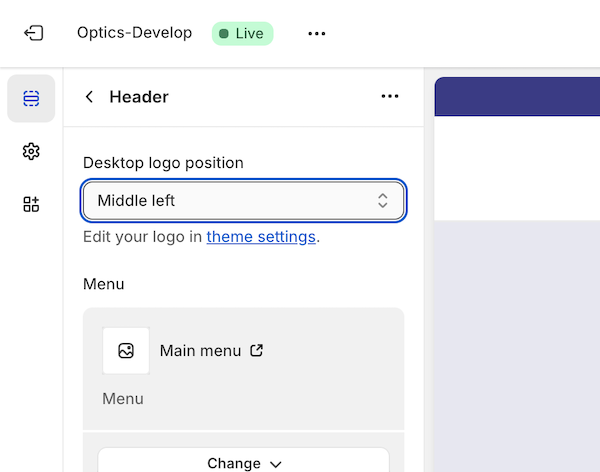
Click on 'Header' option inside Header section
-
Update the Desktop logo position as required
-
Click on Save button. And you can see the logo in header of your side.
Upload image in footer
To upload the company logo in footer
-
Go to Sales Channel > Online Store > Theme.
-
Click on ‘Theme setting’ icon on leftmost bar.
-
You will be redirected to the list of theme settings. Select the ‘Brand Information’ setting from there.
-
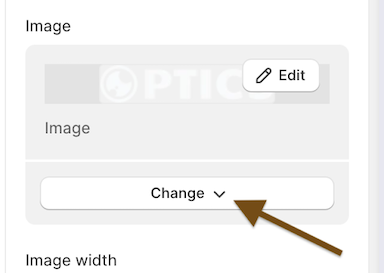
In image field, click on the ‘Change’ dropdown.
-
Select ‘Select from library’ option from the dropdown list
-
Upload the image and click on Save button. You can now see the logo in your footer
Note: Make sure, in footer ( Section / Home Page > Footer > Footer ), the 'Brand Information' section is not hidden.
